前言
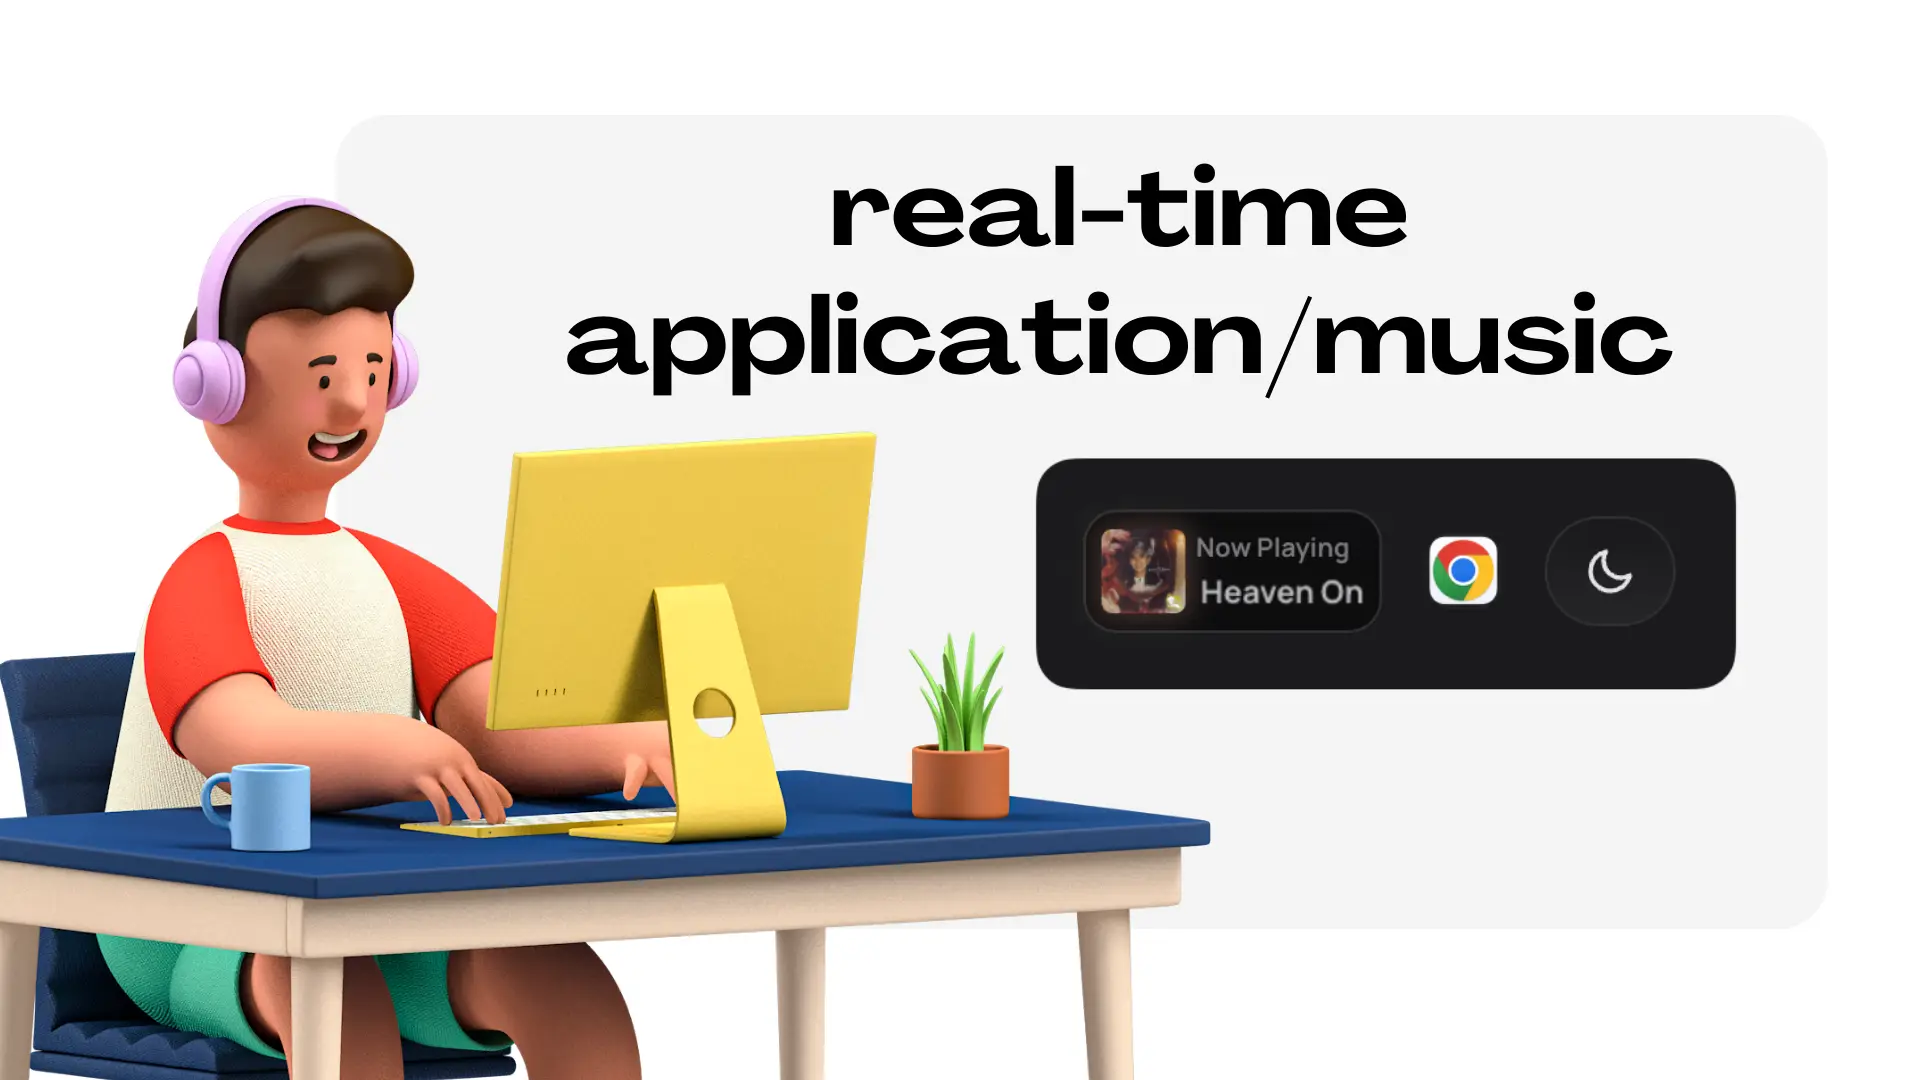
在你看这篇文章的时候,可能会注意到顶部的头像旁边,有一个应用的图标和一个歌曲播放的展示。
图标实时显示了我正在我的 mac 上使用的软件,而音乐也与 macOS 中的 Apple Music 进行同步,显示歌曲,专辑封面和播放进度。
这篇文章就来说一下如何去实现这样的效果,顺便也从动画的角度说一下如何优化音乐组件中,鼠标hover 状态下专辑封面的动画效果。
架构
- macOS 上运行 Go 后端服务,后端服务中注册了定时任务
- 定时任务通过 swift 语言编写的工具去获取所需的信息
- 获取信息后上报到部署在 Vercel 的 Go Runtime API
- Go Runtime API 将数据缓存到 Redis 中
- 页面访问通过 Go Runtime API 获取对应的数据
为什么要通过 Go 调用 swift 的根本原因就是: xcode 实在是.. 不太好用。
获取当前使用应用程序
通过 swift 语言可以很方便的使用macOS 的系统 API 来获取当前使用的程序名。
代码也很简单:
import Cocoa

if let frontmostApp = NSWorkspace.shared.frontmostApplication {
    let appName = frontmostApp.localizedName ?? "Unknown"
    print("The active application is: \(appName)")
}
获取当前收听的音乐信息
在 macOS 语言中,直接获取当前播放音乐信息的 API 是私有的,因此如果需要获取信息的话需要通过 Apple Script 来获取, 脚本的部分我通过请教 GPT 老师来完成。
let script = """
tell application "System Events"
    if (exists (application process "Music")) then
        tell application "Music"
            set currentTrack to current track
            set playerState to player state as text
            if currentTrack is not null then
                set trackName to name of currentTrack
                set artistName to artist of currentTrack
                set albumName to album of currentTrack
                set albumArtwork to raw data of artwork 1 of currentTrack
                set trackDuration to duration of currentTrack
                set playerPosition to player position
                return {trackName, artistName, albumName, albumArtwork, trackDuration, playerPosition, playerState}
            else
                return {"No track playing", playerState}
            end if
        end tell
    else
        return "Music not running"
    end if
end tell
"""
编写完脚本后,基础的信息可以很方便的获取,但是专辑封面的同步问题就会比较困难,因此我没有直接将整个专辑图片的数据包含在 swift 程序的返回中,而是将图片存储在 macOS 的某个目录下,Go 程序再通过目录去获取当前的专辑封面图。
if let artworkData = descriptor.atIndex(4)?.data {
            let fileManager = FileManager.default
            if let downloadsDirectory = fileManager.urls(for: .downloadsDirectory, in: .userDomainMask).first {
                let fileURL = downloadsDirectory.appendingPathComponent("albumArtwork.jpg")  // 为图片选择一个文件名

                do {
                    try artworkData.write(to: fileURL)  // 将图片数据写入文件
                    artworkPath = fileURL.path  // 将文件路径保存在 artworkPath 中
                } catch {
                    standardOutput.capturedOutput = "写入文件错误: \(error)"  // 捕获错误输出
                }
            } else {
                standardOutput.capturedOutput = "无法访问文档目录"  // 捕获错误输出
            }
        }
Go 程序上报数据
上报数据对于 Go 语言来说是十分轻松的,我采用了老朋友 Goframe 框架作为基础框架进行数据的处理和上报,Vercel Go Runtime API 稍后介绍,上传部分简单介绍一下如何存储专辑封面的问题。
主要通过 GitHub API 上传专辑图片至 GitHub 仓库,访问时通过 jsDelivr CDN 来加速访问速度。
首先 Go 程序通过 swift 程序返还的路径读取专辑封面图转换为 base64 数据,然后通过 GitHub API 在 GitHub 仓库中 commit 并上传文件,专辑封面图就可以通过 CDN 进行访问了。
**// 将图像编码为 JPEG 格式并将结果写入缓冲区
	err = jpeg.Encode(&buffer, img, nil)
	if err != nil {
		log.Println("编码图像为 JPEG 格式时发生错误:", err)
		return
	}
	// 将缓冲区内容转换为 base64 编码的字符串
	baseString := base64.StdEncoding.EncodeToString(buffer.Bytes())
	// 构建 GitHub 上传参数
	imgFileName := albumName + artist + ".jpg"
	imgFileNameUrlEncode := url.QueryEscape(imgFileName)
	uploadJson := g.Map{
		"message": "upload: " + imgFileNameUrlEncode,
		"committer": map[string]string{
			"name":  "*",
			"email": "*@gmail.com",
		},
		"content": baseString,
	}
	uploadUrl := "https://api.github.com/repos/jmllx1963/MusicArtwork/contents/" + imgFileNameUrlEncode
	githubClient := g.Client().SetHeader("Accept", "application/vnd.github+json")
	githubClient.SetHeader("Authorization", "Bearer ghp_***")
	githubClient.SetHeader("X-GitHub-Api-Version", "2022-11-28")

	res, err := githubClient.Put(ctx, uploadUrl, gjson.New(uploadJson).String())**
Vercel Go Runtime API
因为在后端的数据保存上,对于 APP 与 Music 分别只需要两个接口(更新,获取)就可以完成功能,因此云函数的方式去部署是相对比较合适的,恰好 Vercel 的 Go Runtime 正在测试中,同时也可以很好的融合进前端项目中,因此采用了 Vercel 的云函数来构建。
Using the Go Runtime with Serverless Functions
缓存中间件
因为云函数是没有持续的运行环境的,因此存储数据需要连接外部的组件来进行,我选择了 Redis 作为缓存中间件,通过 go-redis 库连接与操作 Redis。Redis 可以选择服务器安装 Redis 或者其他服务商提供的 Redis 服务,比如 Vercel 官方的KV服务或直接使用背后的提供商 Upstash。
Upstash: Serverless Data for Redis® and Kafka®
简略的完整 Vercel Go Runtime API 代码如下:
package get

import (
	"context"
	"github.com/redis/go-redis/v9"
	"net/http"
)

func Handler(w http.ResponseWriter, r *http.Request) {
	var ctx = context.Background()
	opt, _ := redis.ParseURL("redis://default:password@host:6379")
	client := redis.NewClient(opt)

	// 从缓存中获取
	macApp := client.Get(ctx, "mac-app").Val()
	if macApp == "" {
		macApp = "Offline"
	}
	resJson := `{"code": 200, "msg": "success", "data": {"app": "` + macApp + `"}}`
	w.Header().Set("Content-Type", "application/json")
	w.Header().Set("Access-Control-Allow-Origin", "*")
	w.WriteHeader(http.StatusOK)
	_, _ = w.Write([]byte(resJson))
	return
}
(新)缓存中间件-Next.js API 实现
除了使用 Go 语言去实现外,我们也可以直接通过 Next.js 的 Serverless Function 来实现,在接口中订阅 Redis 的频道来获取最新数据。为了优化用户体验,我们也会在 Redis 中缓存最新一条数据。
import { type NextRequest, NextResponse } from 'next/server'

export const runtime = 'nodejs'

// Prevents this route's response from being cached
export const dynamic = 'force-dynamic'

// Use ioredis to subscribe
import Redis from 'ioredis'

// Define the key to listen and publish messages to
const subKey = 'mac-music-now'
const lastKey = 'mac-music-last'
首先定义一些必要的头部信息,其中 dynamic 变量会告诉 vercel 永远不要缓存这个接口的数据。
export async function GET() {
  const encoder = new TextEncoder()
  // Use Redis to get the last message
  const lastMessage = await redisSubscriber.get(lastKey)
  // Create a stream
  const customReadable = new ReadableStream({
    start(controller) {
      if (lastMessage) {
        controller.enqueue(encoder.encode(`data: ${lastMessage}\n\n`))
      }
      void redisSubscriber.subscribe(subKey, (err) => {
        if (err) console.log(err)
      })
      // Listen for new posts from Redis
      redisSubscriber.on('message', (channel, message) => {
        if (channel === subKey)
          controller.enqueue(encoder.encode(`data: ${message}\n\n`))
      })
    },
  })
  // Return the stream and try to keep the connection alive
  return new Response(customReadable, {
    // Set headers for Server-Sent Events (SSE) / stream from the server
    headers: {
      'Content-Type': 'text/event-stream; charset=utf-8',
      Connection: 'keep-alive',
      'Cache-Control': 'no-cache, no-transform',
      'Content-Encoding': 'none',
    },
  })
}
我们使用 ReadableStream 来存储信息流,再通过 SSE 的形式返回。
中段小结
至此,有关 macOS 应用与音乐数据获取与存储的部分就完成了,接下来便是前端通过 API 获取数据然后展示在页面上。
前端获取数据
其实在获取数据的方式上,可以选择的有很多种,比如轮训,长连接,websocket,SSE,在本次项目中我选择 SSE 搭配 Redis 订阅发布的方式去实现。
关于流传输,可以参考 vercel 官方的文章:
我们用到 EventSource 来对上文中的 Next.js API 进行连接与获取数据流。
eventSource = new EventSource('/api/music')
同时我们手动处理收到数据后的解析与重连逻辑。
eventSource.onmessage = (event) => {
  const data = JSON.parse(event.data)
  setNowMusic(data)
}

eventSource.onerror = (event) => {
  console.error('EventSource failed:', event)
  eventSource!.close()
  // 设置延迟后重新连接
  setTimeout(connectToStream, 1) // 重连延迟为1毫秒
}
我们使用 useEffect 将这个 SSE 获取的功能挂载在组件上,完整代码如下:
const [nowMusic, setNowMusic] = useState<MusicData>()
useEffect(() => {
  let eventSource: EventSource | null = null

  const connectToStream = () => {
    // 关闭现有的事件源(如果它还开着)
    if (eventSource) {
      eventSource.close()
    }

    eventSource = new EventSource('/api/music')

    eventSource.onmessage = (event) => {
      const data = JSON.parse(event.data)
      setNowMusic(data)
    }

    eventSource.onerror = (event) => {
      console.error('EventSource failed:', event)
      eventSource!.close()
      // 设置延迟后重新连接
      setTimeout(connectToStream, 1) // 重连延迟为1毫秒
    }
  }

  // 初始连接
  connectToStream()

  return () => {
    // 组件卸载时,关闭事件源
    if (eventSource) {
      eventSource.close()
    }
  }
}, [])
这样子前端就可以通过 SSE 获取源源不断的数据了,同时也避免了轮训带来的额外消耗。
关于动画
前端获取数据后,需要的就是将数据传入至组件中展示。
这里重点解析一下播放组件的动画显示逻辑。
播放组件主要展示专辑封面、歌曲名、播放状态与播放进度,其中播放进度以进度条的形式展示。
专辑封面提取色彩
在专辑封面图的四周,有依据图片而生成的颜色光晕,同时进度条的颜色也与光晕颜色一致。
这里通过一个函数可以提取图片的主题色:
const extractAverageColor = (img: HTMLImageElement): RGBColor => {
  const canvas = document.createElement('canvas')
  const context = canvas.getContext('2d')
  if (!context) {
    return { r: 0, g: 0, b: 0 } // Fallback color
  }

  canvas.width = img.width
  canvas.height = img.height
  context.drawImage(img, 0, 0, img.width, img.height)

  const data = context.getImageData(0, 0, img.width, img.height).data
  let r = 0,
    g = 0,
    b = 0,
    count = 0

  for (let i = 0; i < data.length; i += 4) {
    r += data[i]!
    g += data[i + 1]!
    b += data[i + 2]!
    count++
  }

  return {
    r: Math.round(r / count),
    g: Math.round(g / count),
    b: Math.round(b / count),
  }
}
同时设置在每次获取到新专辑封面时重新提取
useEffect(() => {
  if (nowMusic?.artwork_url) {
    void fetch(nowMusic.artwork_url)
      .then((res) => res.blob())
      .then((blob) => {
        const img = new Image()
        img.src = URL.createObjectURL(blob)
        img.onload = function () {
          const color = extractAverageColor(this as HTMLImageElement)
          setImgColor(color)
        }
      })
  }
}, [nowMusic?.artwork_url])
光晕用 box-shadow 来绘制
style={{
     boxShadow: !isActive
     ? `0 0 10px 1px rgb(${imgColor?.r}, ${imgColor?.g}, ${imgColor?.b},0.6)`
     : `0 10px 50px 5px rgb(${imgColor?.r}, ${imgColor?.g}, ${imgColor?.b},0.3)`,
}}
进度条搭配播放进度,使用 background-image 搭配 width 来实现效果
style={{
backgroundImage: `linear-gradient(90deg, rgba(${imgColor?.r}, ${imgColor?.g}, ${imgColor?.b},0.05), rgba(${imgColor?.r}, ${imgColor?.g}, ${imgColor?.b},0.2))`,
width: `${nowMusic.play_percent}%`,
transition: 'width 0.5s ease-in-out',
}}
播放组件初始化动画
有关动画的部分采用 framer-motion 去实现,只需定义动画参数,用"m.div"包裹元素即可。
const anim = {
  initial: { opacity: 1, scale: 0.3, transition: { delay: 1 } },
  closed: { scale: 1, y: 0, filter: ['blur(5px)', 'blur(0px)'] },
}
<m.div
key={'music-widget'}
variants={anim}
initial={'initial'}
**>**
专辑封面弹出
当鼠标移动到播放组件上时,组件会消失,专辑封面由模糊渐渐变成清晰的专辑封面大图。
当鼠标移出播放组件,专辑封面消失,播放组件由模糊渐渐还原,最后加上回弹的效果增加真实性。
首先,我们需要确定触发范围,如果我们直接将触发范围绑定在播放组件卡片上,就有可能造成弹出专辑封面图后,鼠标已经不再触发范围内了,用户体验会大幅下降。
理念是来自于菜单中也很常见的二级菜单消失的范围判定,合理的做法应该是将触发范围扩展至鼠标到二级菜单底部。
而在本项目中,我采用以播放卡片为中心,向外增加 padding 的方式来确定触发范围。
<div
      className="hit-area linkCursor pointer-events-auto relative py-4"
      onMouseEnter={() => setIsActive(true)}
      onMouseLeave={() => setIsActive(false)}
>
在播放器组件外部增加一个额外的 div 来绑定鼠标的触发,通过 py-4 在 y 轴上增加触发的面积。
剩下只需要定义好触发的动画参数即可。
const anim = {
  initial: { opacity: 1, scale: 0.3, transition: { delay: 1 } },
  open: {
    scale: 1,
    y: 80,
    filter: ['blur(5px)', 'blur(0px)'],
    opacity: [0.1, 1],
    transition: { duration: 0.4, ease: [0.23, 1, 0.32, 1] },
  },
  closed: { scale: 1, y: 0, filter: ['blur(5px)', 'blur(0px)'] },
}
在最外层用 AnimatePresence 包裹,确保可以触发进入与退出动画,同时将 mode 设置为 wait,这确保页面上只会出现一个动画组件。
<AnimatePresence mode={'wait'}>
        {isMounted && (
          <m.div
            key={'music-widget'}
            variants={anim}
            initial={'initial'}
            animate={isActive ? 'open' : 'closed'}
            className={clsx(
              'pointer-events-auto relative mr-4 flex items-center rounded-xl bg-white backdrop-blur-lg dark:bg-black',
              {
                'gap-1 bg-opacity-10 px-1.5 py-1.5 ring-1 ring-zinc-900/5 dark:bg-opacity-10 dark:ring-white/10':
                  !isActive,
                'bg-opacity-0 px-2 py-2 dark:bg-opacity-0': isActive,
              }
            )}
          >
最终专辑动画的效果就实现了。
感谢阅读📖。