项目介绍
项目部署
获取 nezha 面板地址URL
获取完整的面板 URL 根路径,包含 http:// 或 https://,如通过端口访问也需记录。
例如:https://nezha-dashboard.hku.tech:8843
获取 nezha API Token
创建 Token 位置:管理后台 → API Token
Fork 至自己仓库, 取消勾选最下面的选项。
创建 Cloudflare Pages
关联仓库
选择刚才 fork 至自己仓库内的存储库
配置项目基础信息(十分重要!)
在生产分支中,选择 cloudflare 分支
在框架预设中,选择 Next.js , 构建命令与目录无需更改
配置必要环境变量
在配置面板信息前,首先需要配置构建工具版本。
变量名称:BUN_VERSION
值:1.1.29
变量名称:NODE_VERSION
值:22.9.0
配置面板信息环境变量
环境变量解释可参考项目仓库 Readme
nezha-dash/README.md at main · hamster1963/nezha-dash
必要环境变量填写完毕后如图:
保存并部署
点击保存并部署按钮,等待部署完成,部署完成后进行后续设置。
配置 node 兼容项
部署完成后,会提示未开启 nodejs 兼容选项。
在设置-运行时-兼容性标志中,填入 nodejs_compat 后保存。
禁用其他分支部署
在 设置-运行时-分支控制 中,将预览分支选项勾选为 无,点击部署。
重新部署项目即可完成部署
在部署标签页,选中最新一条部署,在选项中点击重试部署。
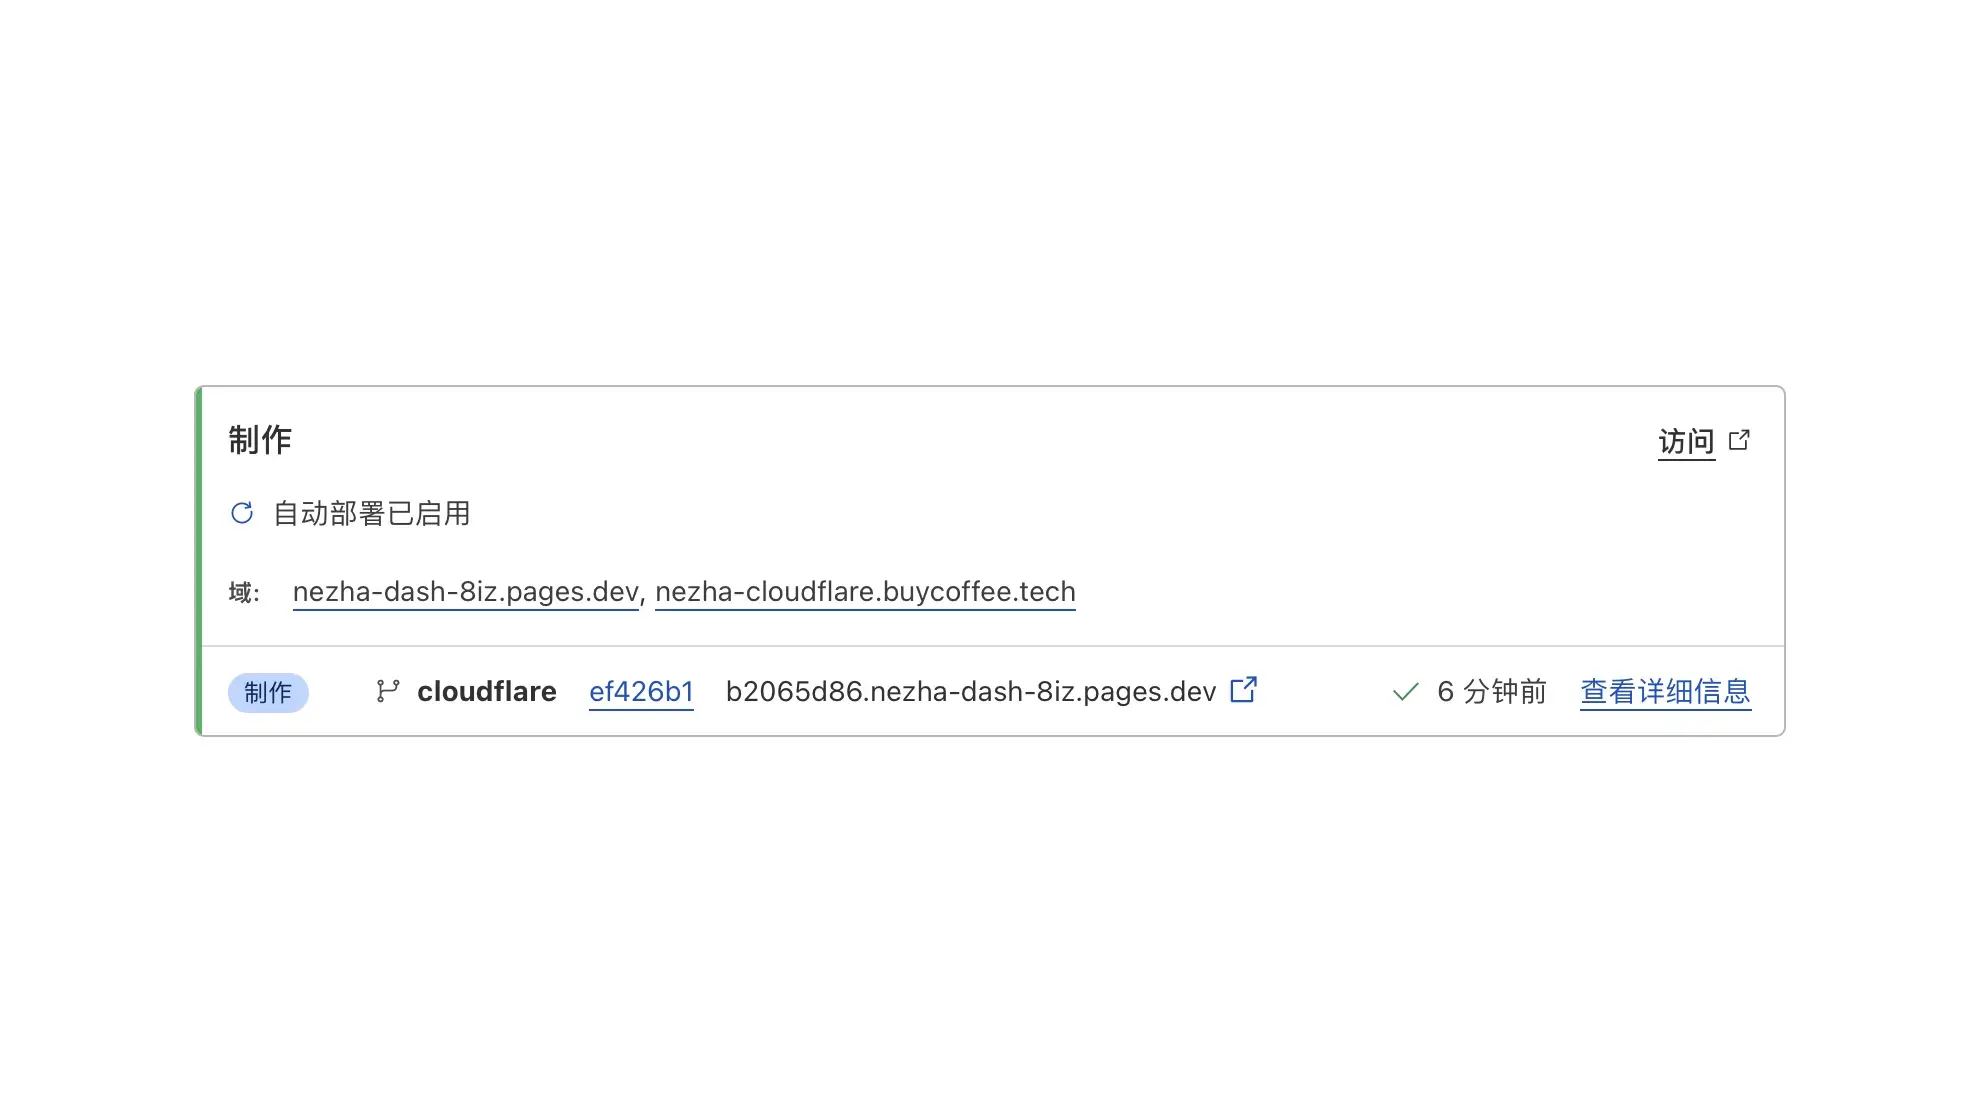
部署完成后即可访问仪表盘页面与自定义域的绑定。
谢谢大家的支持🙏