前言
在浏览GitHub上许多知名的社区项目时,总能在Release中看到各种不同的Changelog,其中通常包含这代码的提交信息,有一些则是重大的更新点,其中有人工进行Changelog编写的,也有许多是使用自动化工具生成的。

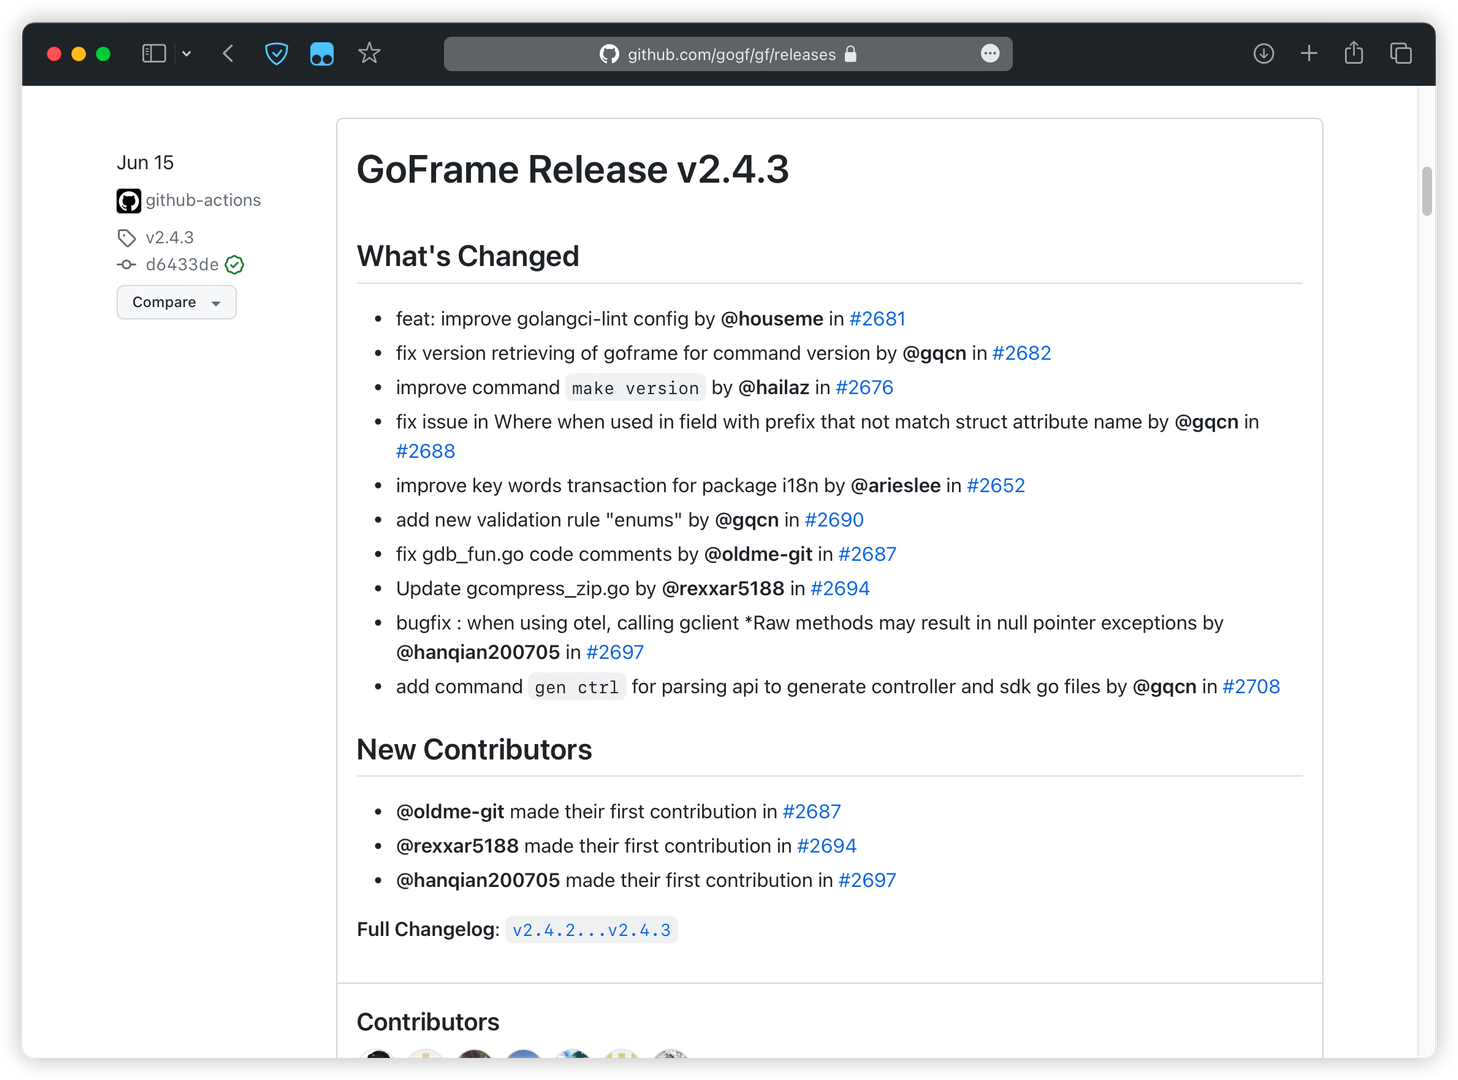
Goframe项目的Changelog
于是我们尝试在Speed-Cron项目中引入自动化的Changelog生成工具,帮助我们生成好看又实用的Changelog。
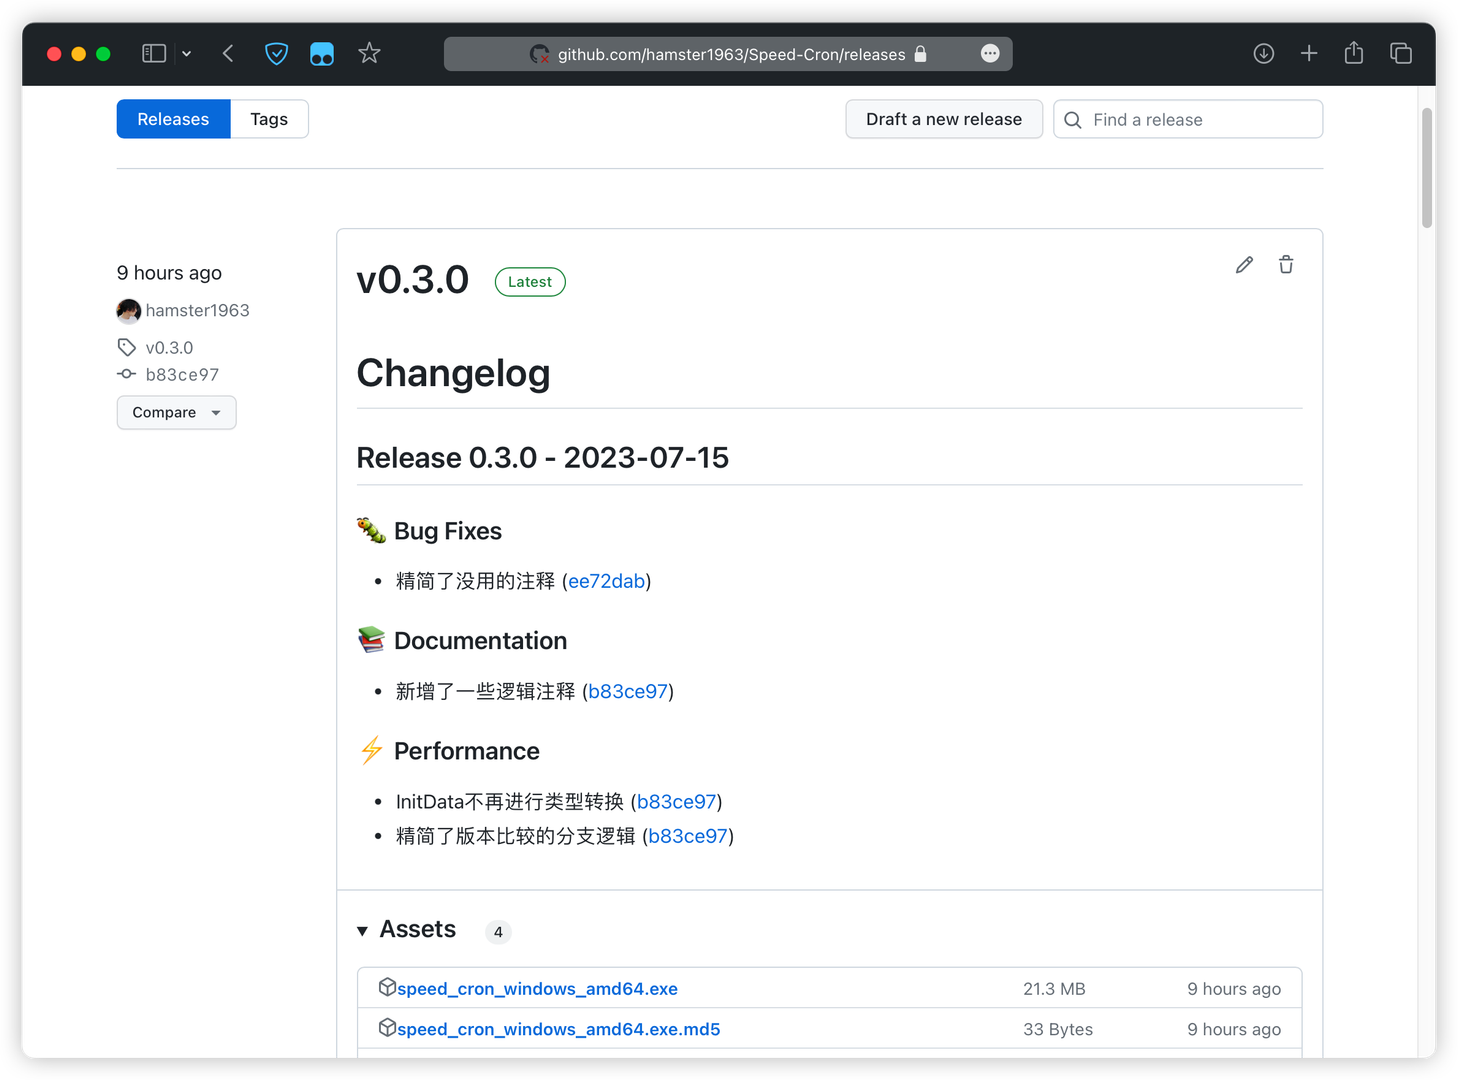
最终效果

目前常见的Changelog自动化工具
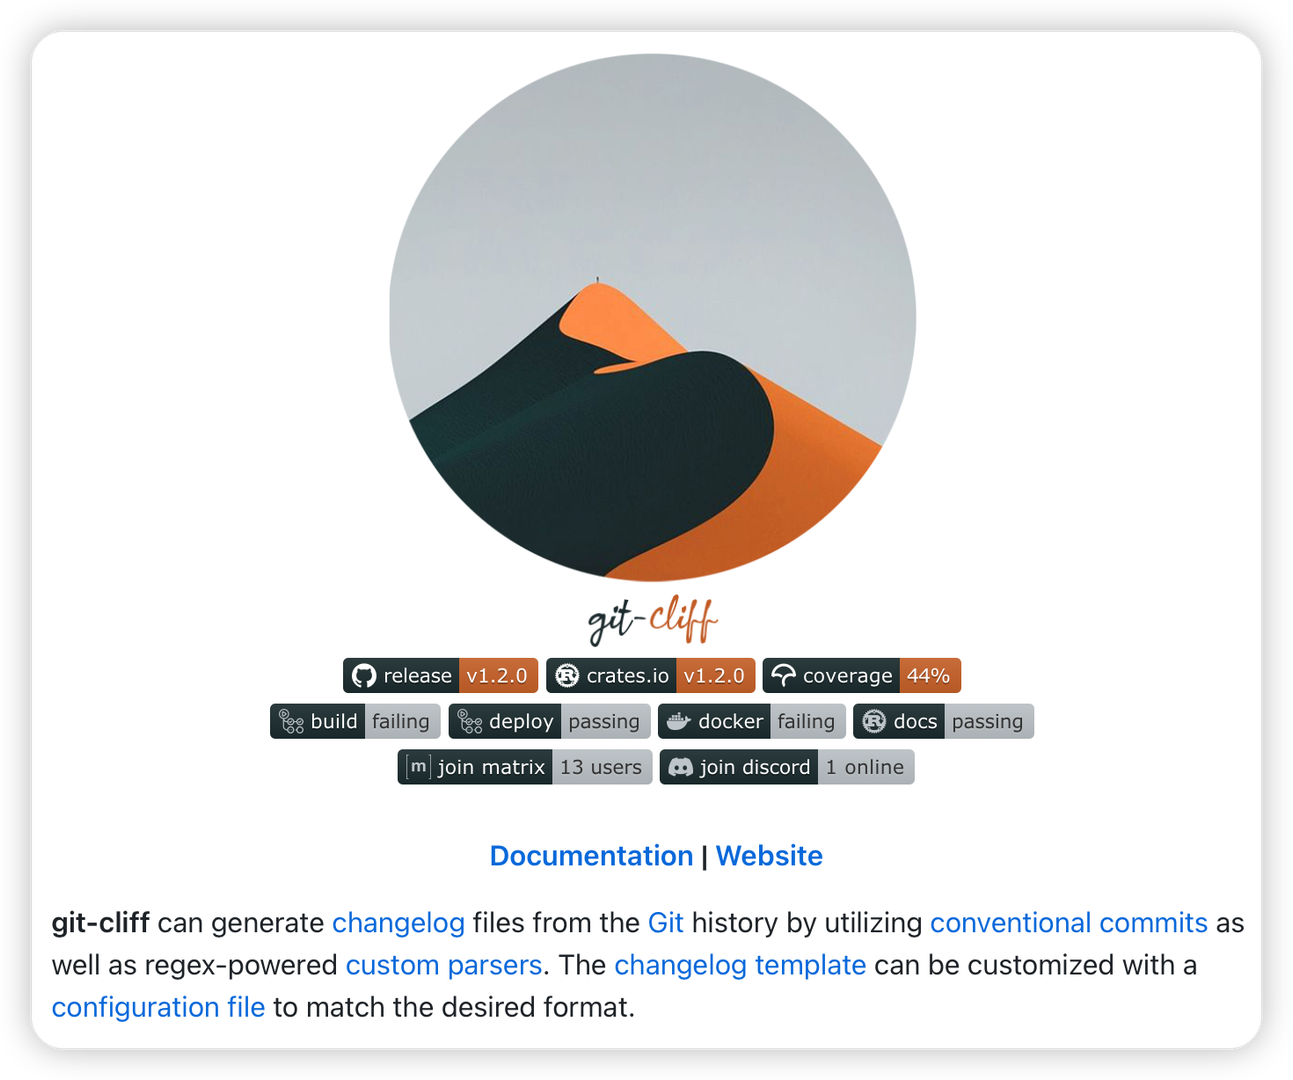
目前社区中有十分多不同风格与用法的Changelog自动化生成工具,比如npm中的 auto-changelog ,或者GitHub官方的Automatically generated release notes,而今天选用的,则是一款在GitHub上知名度较高的 git-cliff ,git-cliff 是用rust语言编写的自动化生产变更日志的工具,可以通过下载二进制文件在本地生成 Changelog ,或者引入到GitHub Actions中进行使用。

在本项目中,我们将利用git-cliff官方的Actions套件为Release阶段生成Changelog。
配置方式
https://git-cliff.org/docs/github-actions/git-cliff-action
在官方的文档中对于如何在Actions中使用git-cliff有很详细的介绍。通过在workflow文件中引入并配置git-cliff Actions即可。
- name: Check out repository
  uses: actions/checkout@v3
  with:
    fetch-depth: 0

- name: Generate a changelog
  uses: orhun/git-cliff-action@v2
  with:
    config: cliff.toml
    args: --verbose
  env:
    OUTPUT: CHANGELOG.md
可以使用默认的cliff.toml,或者我们自定义更符合我们需求的git-cliff配置文件。

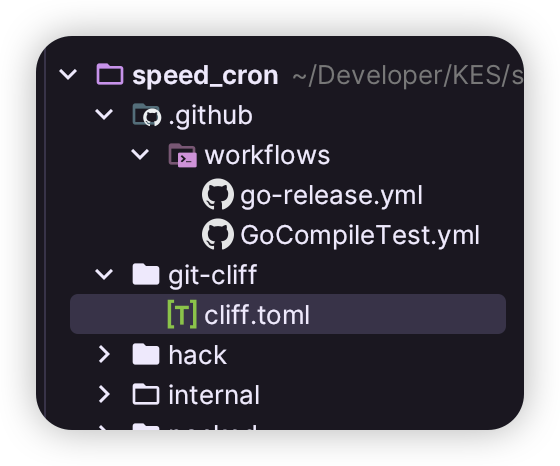
在项目中,我们创建一个git-cliff文件夹以用来存放git-cliff的配置文件,现在直接先摆上完整的配置文件。
# git-cliff ~ configuration file
# https://git-cliff.org/docs/configuration
#
# Lines starting with "#" are comments.
# Configuration options are organized into tables and keys.
# See documentation for more information on available options.

[changelog]
# changelog header
header = """
# Changelog\n
"""
# template for the changelog body
# https://tera.netlify.app/docs/
body = """
{% if version %}\
    ## Release {{ version | trim_start_matches(pat="v") }} - {{ timestamp | date(format="%Y-%m-%d") }}
{% else %}\
    ## [unreleased]
{% endif %}\

{% for group, commits in commits | group_by(attribute="group") %}
    ### {{ group | upper_first }}
    {% for commit in commits %}
        - {{ commit.message | upper_first }} ([{{ commit.id | truncate(length=7, end="") }}](https://github.com/hamster1963/Speed-Cron/commit/{{ commit.id }}))\
          {% for footer in commit.footers -%}
            , {{ footer.token }}{{ footer.separator }}{{ footer.value }}\
          {% endfor %}\
    {% endfor %}
{% endfor %}\n
"""
# remove the leading and trailing whitespace from the template
trim = true
# changelog footer
footer = """
"""

[git]
# parse the commits based on https://www.conventionalcommits.org
conventional_commits = true
# filter out the commits that are not conventional
filter_unconventional = true
# process each line of a commit as an individual commit
split_commits = true
# regex for preprocessing the commit messages
commit_preprocessors = [
  { pattern = '\((\w+\s)?#([0-9]+)\)', replace = "([#${2}](https://github.com/orhun/git-cliff/issues/${2}))" },
]
# regex for parsing and grouping commits
commit_parsers = [
  { message = "^feat", group = "<!-- 0 -->⛰️  Features" },
  { message = "^fix", group = "<!-- 1 -->🐛 Bug Fixes" },
  { message = "^doc", group = "<!-- 3 -->📚 Documentation" },
  { message = "^perf", group = "<!-- 4 -->⚡ Performance" },
  { message = "^refactor", group = "<!-- 2 -->🚜 Refactor" },
  { message = "^style", group = "<!-- 5 -->🎨 Styling" },
  { message = "^test", group = "<!-- 6 -->🧪 Testing" },
  { message = "^chore\\(release\\): prepare for", skip = true },
  { message = "^chore\\(pr\\)", skip = true },
  { message = "^chore\\(pull\\)", skip = true },
  { message = "^chore", group = "<!-- 7 -->⚙️ Miscellaneous Tasks" },
  { body = ".*security", group = "<!-- 8 -->🛡️ Security" },
]
# protect breaking changes from being skipped due to matching a skipping commit_parser
protect_breaking_commits = false
# filter out the commits that are not matched by commit parsers
filter_commits = false
# glob pattern for matching git tags
tag_pattern = "v[0-9]*"
# regex for skipping tags
skip_tags = ""
# regex for ignoring tags
ignore_tags = "v.*-beta.*"
# sort the tags topologically
topo_order = false
# sort the commits inside sections by oldest/newest order
sort_commits = "oldest"
可以在配置文件中看出,主要的配置块分为Changelog部分与GitHub部分,分别对Changelog的格式以及读取GitHub的行为进行配置。
在Changelog部分,我们将每一行的commit都看做一个独立的变更(虽然在多人项目中不太建议)。
# process each line of a commit as an individual commit
split_commits = true
并且在变更的末尾附上对应的commit_id,方便直接在Changelog页面可以直接点击跳转到对应的commit变更对比页面中。
在变更类别中,分为:
commit_parsers = [
  { message = "^feat", group = "<!-- 0 -->⛰️  Features" },
  { message = "^fix", group = "<!-- 1 -->🐛 Bug Fixes" },
  { message = "^doc", group = "<!-- 3 -->📚 Documentation" },
  { message = "^perf", group = "<!-- 4 -->⚡ Performance" },
  { message = "^refactor", group = "<!-- 2 -->🚜 Refactor" },
  { message = "^style", group = "<!-- 5 -->🎨 Styling" },
  { message = "^test", group = "<!-- 6 -->🧪 Testing" },
  { message = "^chore\\(release\\): prepare for", skip = true },
  { message = "^chore\\(pr\\)", skip = true },
  { message = "^chore\\(pull\\)", skip = true },
  { message = "^chore", group = "<!-- 7 -->⚙️ Miscellaneous Tasks" },
  { body = ".*security", group = "<!-- 8 -->🛡️ Security" },
]
那么多类,通过正则表达式进行匹配分类到不同的类别中。
对于版本号的格式:正式分发的版本采用
v.0.0.1
的格式进行,如为测试版则是v0.0.1-beta.1
的版本格式。因此需要在tag_pattern与ignore-tags中定义区分正式版与测试版本的正则表达式。# glob pattern for matching git tags
tag_pattern = "v[0-9]*"
# regex for ignoring tags
ignore_tags = "v.*-beta.*"这样定义之后,正式版进行生成变更日志时会寻找上一条正式版的版本记录,会跳过与测试版本的比对,这样子就可以将测试过程中的变更日志也一并包含到最后的正式版中。
目前为止基础的配置就完成了。
配置GitHub Actions
我们在jobs中定义一个job专门用以生成Changelog文本并显示在对应的Release变更日志中。
在配置文件中,将路径改为仓库中存放git-cliff配置文件的路径。
在Release step中,将生成的Changelog文本推送至对应的变更日志中。
完整Release workflow如下:
name: build-go-binary

on:
  release:
    types: [created] # 表示在创建新的 Release 时触发

jobs:
  changelog:
    name: Generate changelog
    runs-on: ubuntu-latest
    outputs:
      release_body: ${{ steps.git-cliff.outputs.content }}
    steps:
      - name: Checkout
        uses: actions/checkout@v3
        with:
          fetch-depth: 0

      - name: Generate a changelog
        uses: orhun/git-cliff-action@v2
        id: git-cliff
        with:
          config: git-cliff/cliff.toml
          args: -vv --latest --strip 'footer'
        env:
          OUTPUT: CHANGES.md

      - name: Release
        uses: softprops/action-gh-release@v1
        if: startsWith(github.ref, 'refs/tags/')
        with:
          body: ${{ steps.git-cliff.outputs.content }}
          token: ${{ secrets.GITHUB_TOKEN }}
        env:
          GITHUB_REPOSITORY: ${{ github.repository }}

  build-go-binary: ...
注意事项
在workflow中,我们使用到
${{ secrets.GITHUB_TOKEN }}
作为身份验证,需要在设置中开启对于仓库的读写权限,请参考上篇文章中的配置步骤。最后
好看的Release Changelog也是吸引更多用户的一个有效手段,同时对于后续的维护人员,也可以简单地通过Changelog快速了解到不同版本号之间的差异。Hope u enjoy!
